The export allows you to transfer (copy) tag types, pages, templates and more, which have been created on this system, to another system.
The following example video shows how creating a new export looks like. The UI layout has changed a bit in the last Gentics CMS versions, but the process is still the same. Fullscreen-mode: Click on the bottom-right symbol in the video.
1 Create a new export
You can find the menu item Import and Export in the Gentics CMS tree inside Administration.
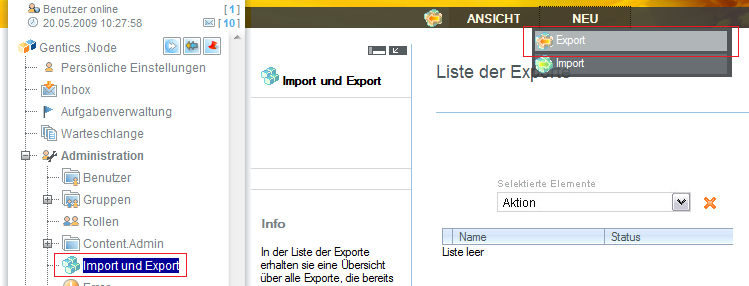
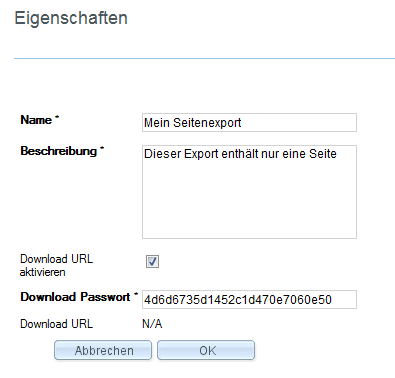
To create a new export, you have to click on “New – Export” in the menu. Then you have to enter a name and a description field. If you want to install this export on another system via URL (server to server), you have to enable the download URL option. The download URL will be protected by the password that is also defined here.
2 Mark objects for export and define exceptions
In the next step, you can select the objects that will be exported (Pages, templates, folders tag types, etc.). You can select the desired objects in a simple tree.
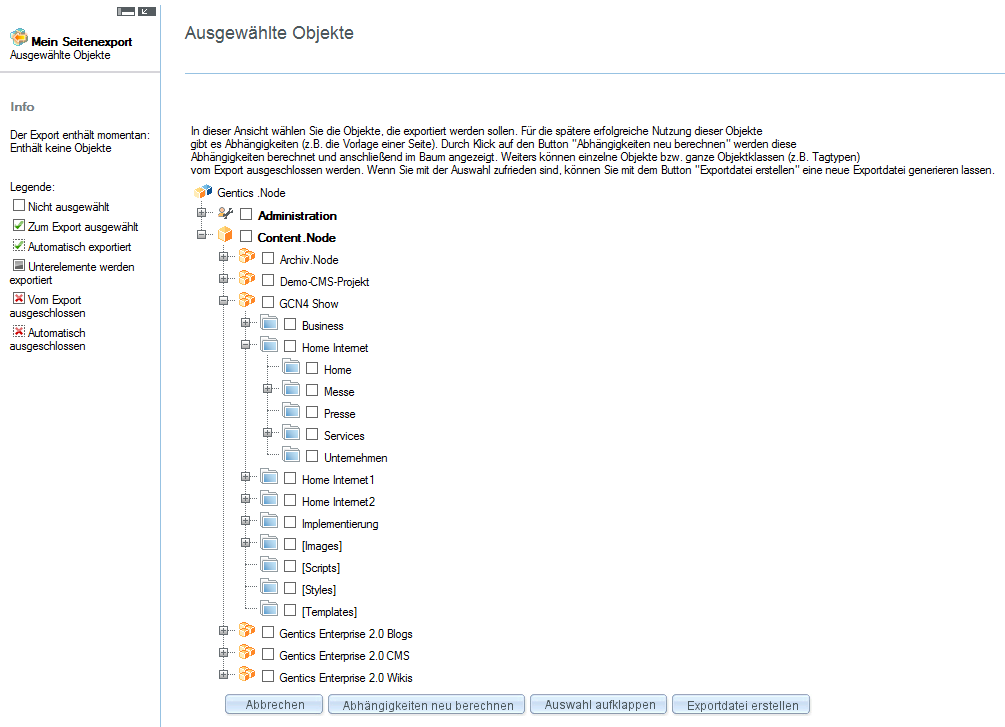
When you select objects (e.g. a page), then it’s likely that there are dependencies (e.g. the template of a page), which will be exported by default. These dependencies are not automatically displayed in the tree. You have to click on the Recalculate Dependencies button in order to show them. If there have been changes done to the selection since the last dependency calculation, they will be displayed with an exclamation mark in the assistant on the left side.
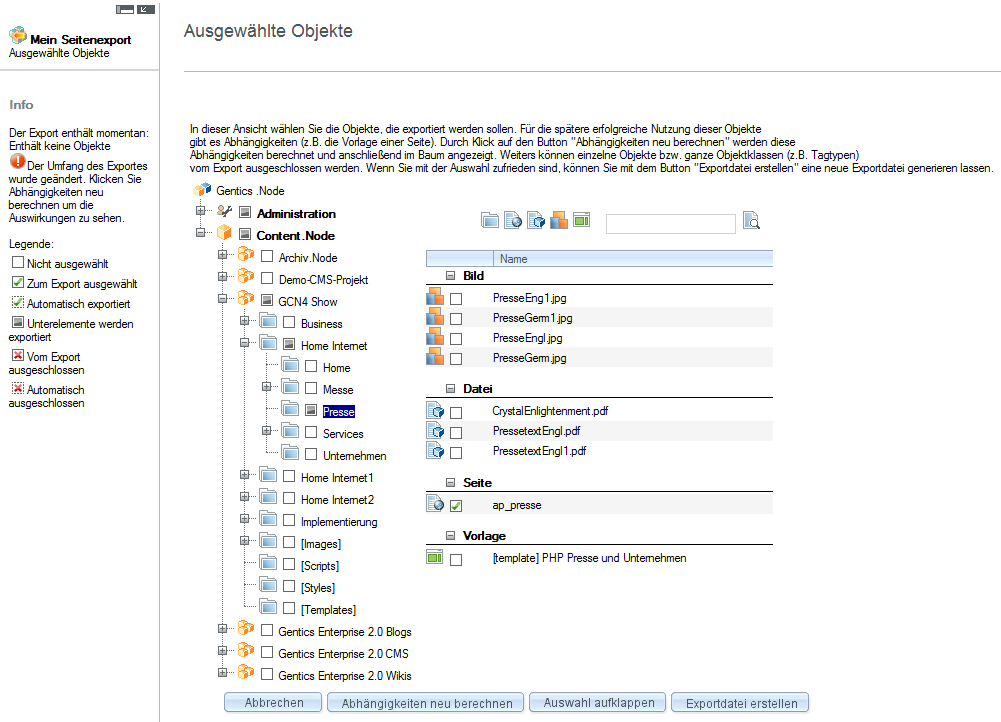
After clicking on “Recalculate dependencies”, you will land on the list of export files again. When you click on the top item then, after the calculation is finished, you will land in the tree view again. All dependent objects are marked with a check mark with a dotted border.

Often you don’t want to export all additional calculated dependencies, in this case you can exclude them from the export by either selecting them individually or select groups of them under the Administration node. Excluded objects will be marked by a red X. After excluding some object types and recalculating the dependencies you will get the following image:

3 Create the export file and resolve warnings from optional dependencies
By clicking on the “Create Exportfile” button, you get to the input dialog of the change log entry for the current export file. which will also be displayed for the installation on the target system and makes the version selection easier.
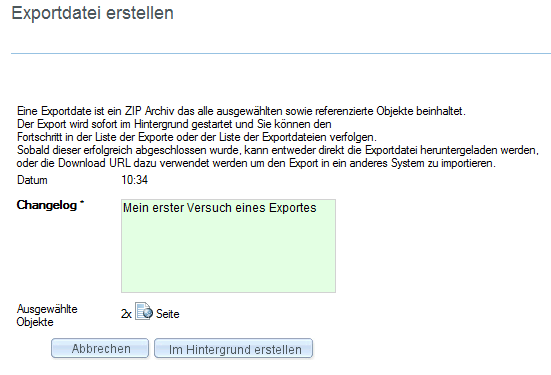
By clicking on “Create in the background”, the creation of the export file will be started. During this process, the progress of the export file creation will be displayed in the list of exports. You can abort a currently running export creation by clicking on “Abort”.
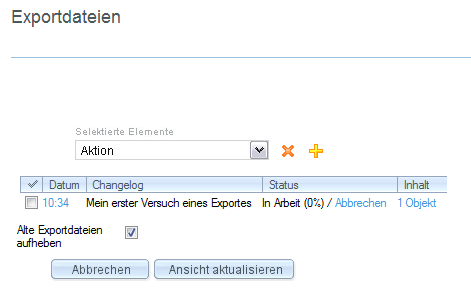
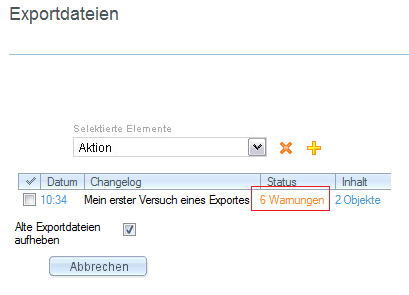
If warnings occur during the creation of the export, they will be displayed in the status column. You can display the warnings by clicking on Warnings.
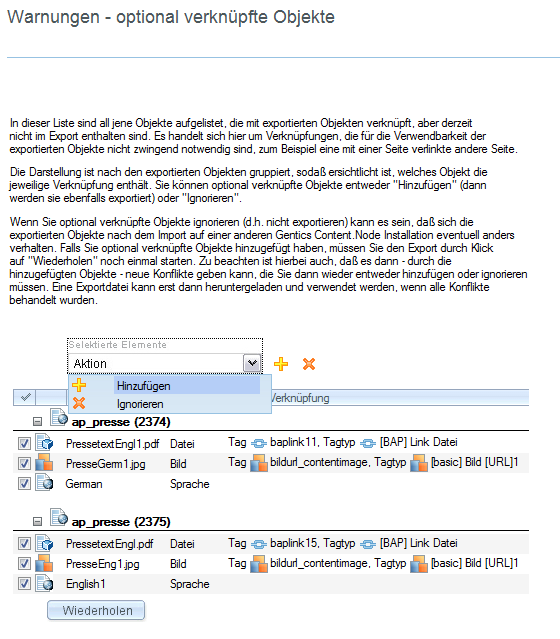
The list of warnings includes all selected objects for this export, for which additional, optional linked/referenced objects (e.g. folders, images or languages) exist. They are links/references, that are not necessarily required for the usability of the exported objects (e.g. another page linked to this page).
These additional objects can either be added to the export (Add) or be ignored (Ignore). Once you have resolved all warnings by adding or ignoring the objects, you can repeat the export process one more time.
When you ignore additional linked objects (not export them), it might be possible that the exported objects will behave differently on another Gentics CMS installation.
Please consider, that you can only download an export file once all export warnings have been resolved by you.
4 Finish the export
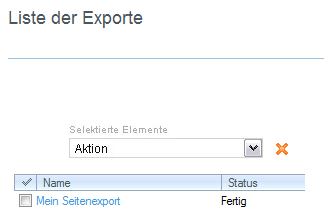
Once the export file was successful without any warnings, the status of the export will change to Done and the created export file can be downloaded.
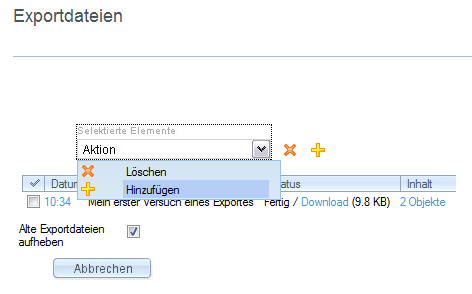
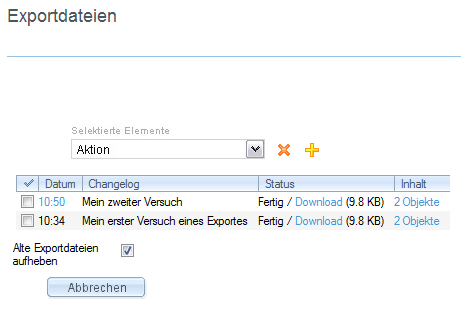
The list of export files of an export shows all previously created export files. If “keep old export files” is not enabled, all export files except the latest one will be deleted and will not be available for download anymore. By selecting “Add” you can add another export file with the same content.
If there are multiple export files available for download, you can pick a specific version of the export through the URL. Export files can also be deleted from the system at any time.
By clicking on the content of an export file, you can create another export file based on the content of the current export file.